
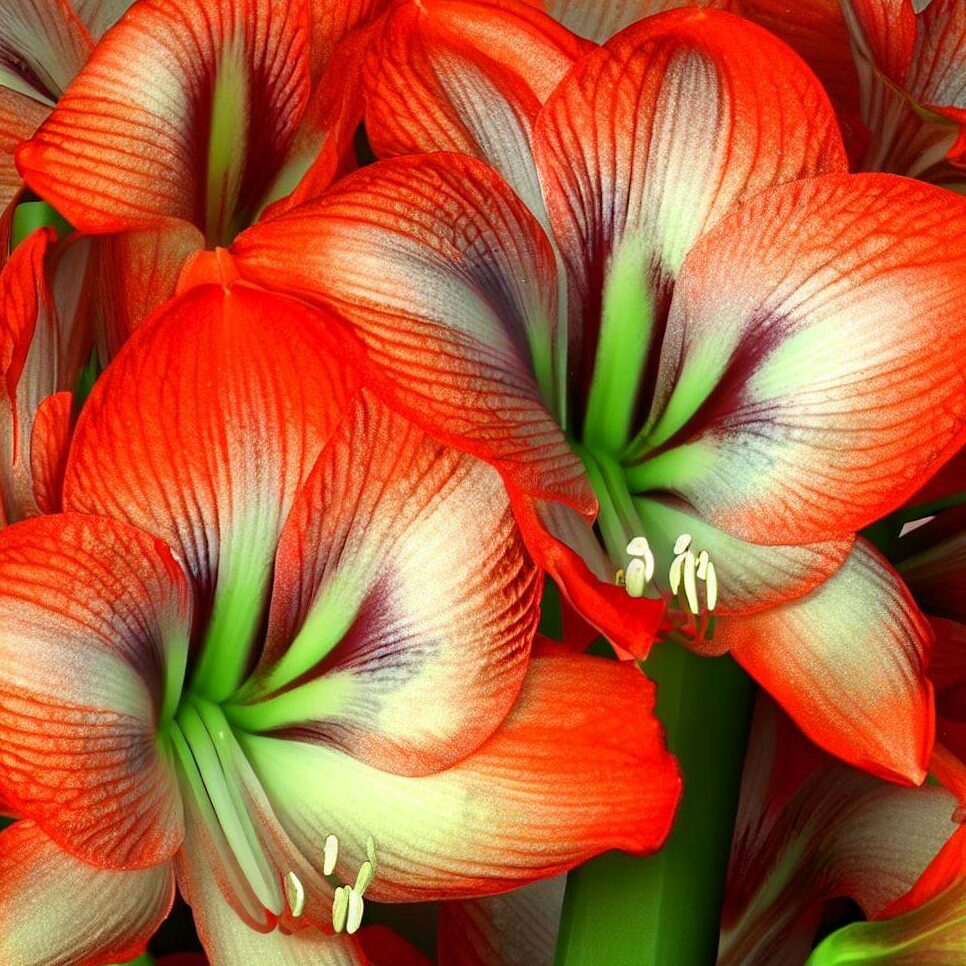
Amaryllis, with its stunning, trumpet-shaped flowers and tall, sturdy stems, is a favorite among gardeners. But what is the best way to propagate amaryllis? Let’s delve into the various methods, from taking cuttings to multiplying bulbs, rooting in water, and propagating amaryllis from seed.
The most effective way to propagate amaryllis is through bulb division. This method leverages the plant’s natural process of producing offsets around the base of the mother bulb. This method is considered the best because it’s straightforward, requires no special equipment, and results in a mature plant much faster than other propagation methods like seed sowing.
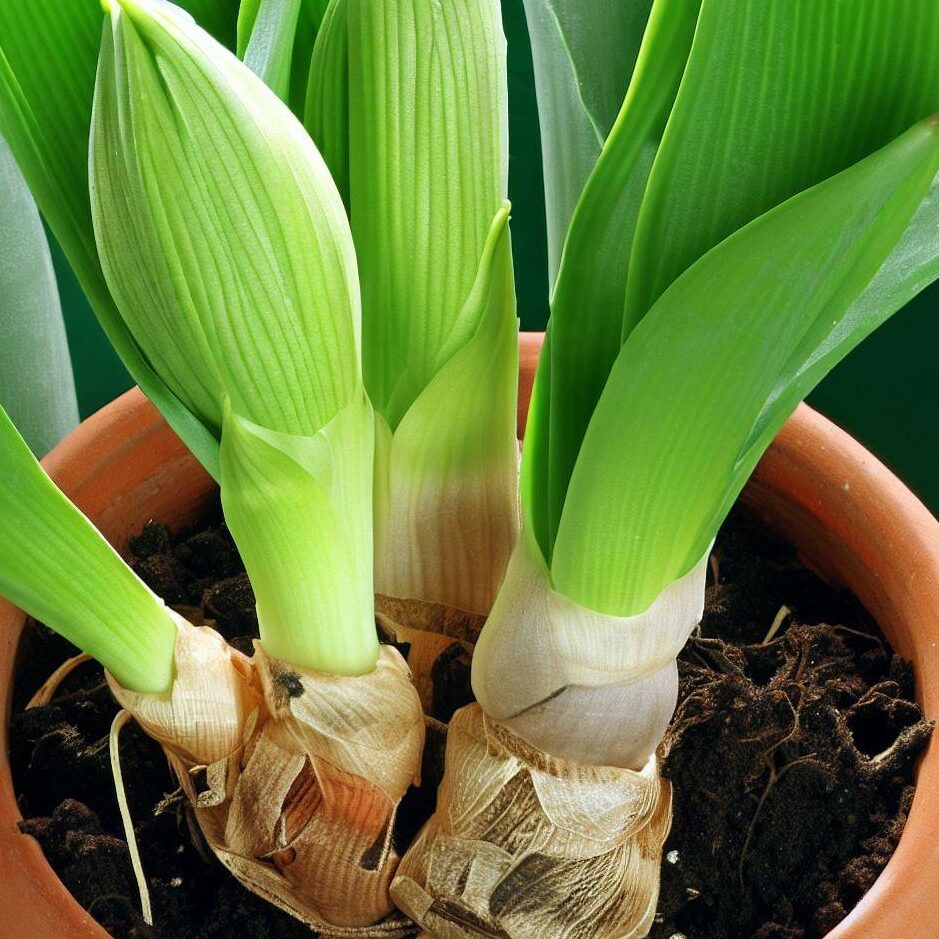
Multiplying Amaryllis Bulbs
Bulb division is indeed one of the most straightforward and popular methods of propagating amaryllis. This process leverages the plant’s natural tendency to produce offsets or “pups” around the base of the mother bulb. These offsets are essentially baby bulbs that can be separated and grown into full-sized, blooming plants.
Here’s a more detailed step-by-step guide:
- Timing: The best time to separate baby amaryllis bulbs is in the fall, during the plant’s dormancy period. This is when the plant has finished its growth cycle and is preparing for the next one.
- Identifying Offsets: Look for small bulbs forming around the base of the mother bulb. These are the offsets or “pups”. They will be firmly attached to the mother bulb but can be separated with a bit of careful force.
🌿 “Patience is key when propagating amaryllis bulblets. Wait until these ‘baby bulbs’ are at least a third the size of the mother bulb before separating for the best chance of thriving.” 🌿
- Separating the Offset: Using a clean, sharp knife, carefully cut the offset away from the mother bulb. Make sure each offset has a portion of the basal plate (the bottom part of the bulb where the roots grow) attached. This is crucial as the basal plate is where new roots will form.
- Preparing for Planting: Before planting, it’s a good idea to let the cut surface of the offset dry for a day or two. This helps prevent any potential fungal or bacterial infections.
- Planting the Offset: Plant the new bulb in a pot filled with well-draining soil. The top third of the bulb should be above the soil surface. This mimics the natural growing conditions of amaryllis, which are used to being partially exposed above the soil.
- Aftercare: Water the newly planted offset thoroughly and place it in a warm, bright location. Avoid watering again until new growth appears to prevent rotting. Once the offset starts growing, care for it as you would any amaryllis plant.
Taking Cuttings from an Amaryllis
Taking cuttings from an amaryllis, also known as “scale propagation,” is a method that involves using parts of the bulb itself to create new plants. While it’s not as commonly used as bulb division or seed propagation, it can be a successful way to multiply your amaryllis plants. Here’s a more detailed look at the process:
- Identify the Bulb Scales: The first step in this process is to identify the bulb scales on the amaryllis bulb. These are the fleshy, layered sections that make up the bulk of the bulb.
- Remove the Scale: Using a clean, sharp knife, carefully remove one or two scales from the bulb. It’s important to make sure the knife is clean to prevent the spread of disease.
🌿 “Twin scaling, or amaryllis bulb cutting propagation, is an advanced but rewarding method. Each cut section, treated with fungicide and nurtured in a growing medium, has the potential to flourish into a new bulb.” 🌿
- Prepare for Planting: Once you have removed the scale, it’s time to prepare it for planting. This usually involves letting it dry out for a day or two to help prevent rot once it’s planted.
- Plant the Scale: Plant the scale in a pot filled with well-draining potting mix. The scale should be planted with the bottom end (the end that was attached to the bulb) down.
- Care for the Cutting: After planting, the cutting should be kept in a warm location and the soil should be kept moist but not waterlogged.
- Wait for Growth: With patience, a new bulb will form at the base of the scale and roots will grow into the soil. This can take several months, so patience is key.
- Transplant the New Bulb: Once the new bulb has formed and has a good root system, it can be transplanted into its own pot and cared for like any other amaryllis plant.
Remember, propagation by cuttings is not always successful, and it may take several attempts to get it right.
Rooting Amaryllis in Water
Rooting amaryllis in water may not be the most common propagation method, but it’s a viable and intriguing option. This approach allows you to visually observe the development of roots and can be a fun and educational project, especially for children. Here’s how to do it:
- Select a Healthy Bulb: Choose a healthy amaryllis bulb for water propagation. The bulb should be firm and free of any signs of disease or damage.
- Prepare the Container: Select a container that is slightly larger than the bulb. The container should be deep enough to allow the roots to grow, but not so deep that the bulb will be submerged in water.
- Position the Bulb: Place the bulb in the container with the bottom just touching the water. The water level should not cover the bulb, as this can cause it to rot.
- Find the Right Location: Position the container in a bright, warm location. Avoid direct sunlight, which can heat the water and damage the developing roots.
- Monitor Growth: Watch for the development of roots. This can take a few weeks, so be patient. Change the water regularly to keep it fresh and prevent the growth of algae or bacteria.
- Plant the Bulb: Once a healthy root system has developed, the bulb can be planted in soil. Choose a pot that is about twice the diameter of the bulb and use a well-draining potting mix. Plant the bulb with the top third above the soil surface, just as you would when propagating by bulb division.
Propagating Amaryllis from Seed
Another method that offers a unique and rewarding gardening experience is propagating amaryllis from seed. This method does require a bit more patience, as it can take a few years for the seedlings to mature into blooming plants.
However, the process of nurturing an amaryllis from seed to flower can be incredibly fulfilling. Here’s how you can do it:
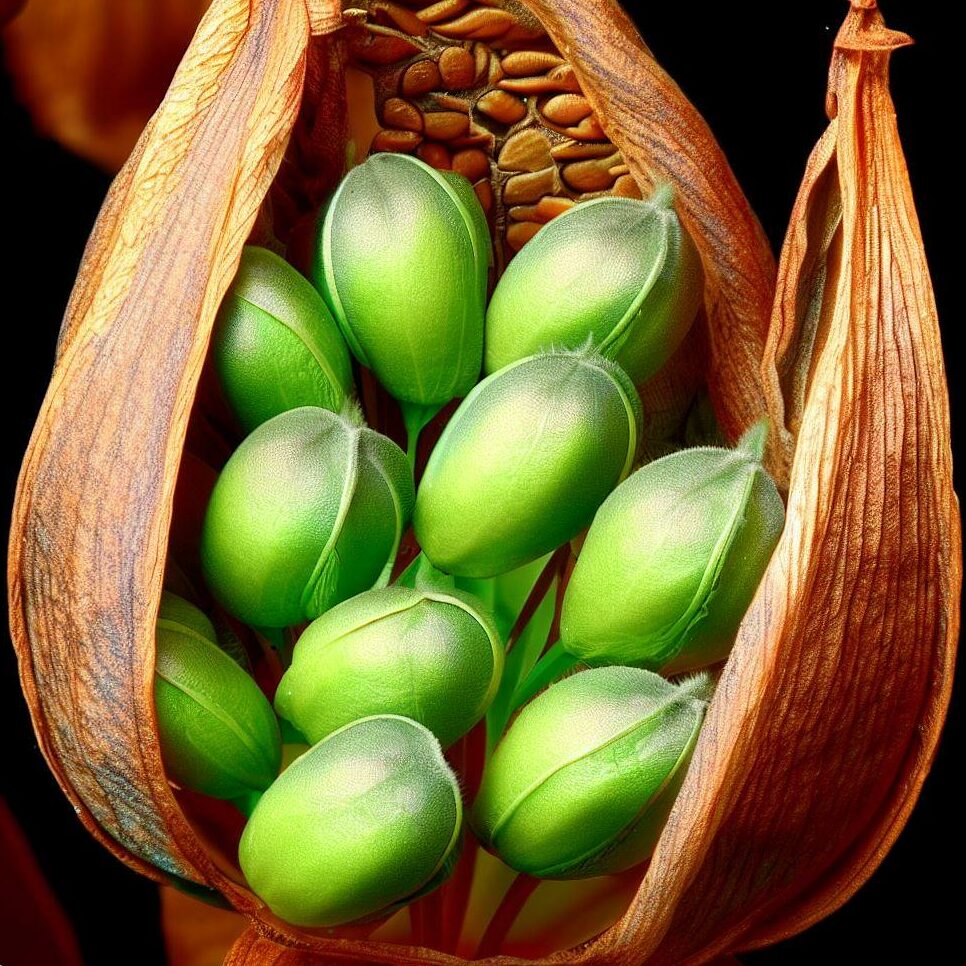
- Wait for Seed Pod Formation: After your amaryllis has bloomed, if it was pollinated, it will produce a seed pod. This pod will develop where the flower used to be.
- Harvest the Seeds: Once the seed pod turns yellow and splits open, it’s time to harvest the seeds. Be sure to do this carefully to avoid damaging the seeds.
- Prepare the Seeds: Some gardeners recommend soaking the seeds in water for a day before planting to help jumpstart germination. This step is optional and not all gardeners find it necessary.
- Sow the Seeds: Plant the seeds in a pot filled with a well-draining potting mix. The seeds should be sown on the surface of the soil, as they need light to germinate.
- Provide Optimal Conditions: Keep the soil moist and place the pot in a warm location. The top of a refrigerator or above a radiator are often good spots.
- Wait for Germination: With the right conditions, seedlings should emerge in a few weeks. Once the seedlings have a few sets of leaves, they can be transplanted into their own pots.
There are several methods to propagate amaryllis, each with its own advantages. Whether you choose to take cuttings, multiply bulbs, root in water, or propagate from seed, with patience and care, you can enjoy the beauty of amaryllis in your garden for years to come. 🌿