Benefits From Thinning: Why Thin Apple Trees?
Thinning an apple tree is a crucial step in managing its health and productivity. But let’s get to the core of why this step matters so much. It boils down to preventing the survival of the fittest scenario among your apples. Without thinning, your tree may work overtime trying to support more fruits than it can handle, leading to small fruit and possibly broken branches. It’s a bit like running a marathon while juggling; something’s going to drop. Consistent thinning can lead to larger fruits, reduced risk of limb damage, and a steady annual harvest.
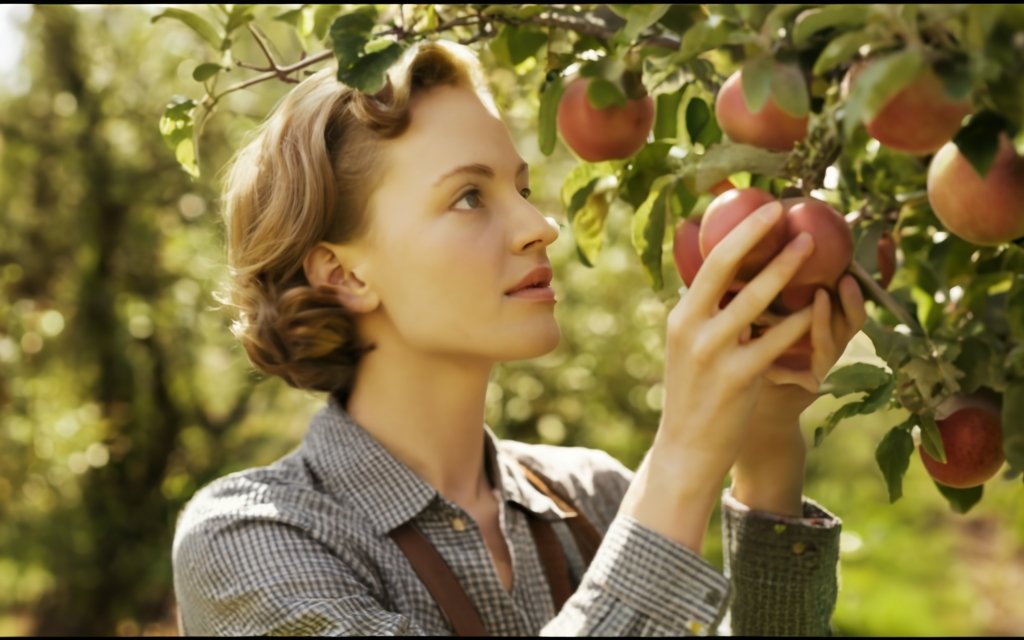
Reasons to Thin
Now, let’s slice into the specific benefits of thinning your apple tree:
| Benefit | Description |
|---|---|
| Increase Fruit Size | Thinning allocates more resources to fewer apples, resulting in a larger size. Bigger is better, right? |
| Prevent Limb Breakage | Less fruit means lighter branches, reducing the risk of breakage. It’s like lightening your backpack before a hike – much more comfortable. |
| Avoid Overbearing | Thinning helps prevent the boom-and-bust cycle of apple production, promoting a consistent yield year after year. |
By thinning your tree, you’re not just being a meticulous gardener, you’re a fruit quality engineer, ensuring each remaining apple has enough space, nutrients, and light to develop to its full potential. Consider it a VIP pass for your chosen apples; they get all the tree’s attention and energy to grow larger. Plus, you’re safeguarding the tree’s structure by preventing an overload that can lead to broken branches – and no one enjoys a garden obstacle course of fallen limbs.
Regular thinning is the tree’s equivalent of not biting off more than it can chew. It’s about maintaining a balance that benefits both the tree’s health and your harvest. Sure, it might seem like you’re giving the tree a tough love haircut, but come harvest time, when you’re biting into a large, juicy apple, you’ll know it was worth the effort.
Optimal Timing: When to Thin an Apple Tree
Timing is everything when it comes to thinning your apple tree. It’s not just about what you do; it’s also about when you do it. The perfect moment for thinning lies in a sweet spot on the calendar that ensures the best growth for your remaining apples. So, when exactly should you be reaching for those pruning shears?
The Timing Checklist
Here’s a straightforward rundown of the prime times for thinning:
- Post-bloom: Target the period right after the petals fall. This is when you can see which flowers have become tiny fruits, and it’s time to make the first cuts.
- Early Summer: As summer kicks off, it’s your cue for another thinning session, especially if you missed the post-bloom window.
- After the “June Drop”: Nature does some thinning for you, known as the June drop, when the tree sheds some of its excess load. After this, step in and tidy up what’s left.
Ever noticed how your tree seems to drop some of its fruit every year, all by itself? That’s the June drop , and it’s your tree’s way of self-pruning. However, it’s not enough to guarantee the best crop. That’s where you come in. After the tree drops those excess apples, usually in June, give it a helping hand by thinning out the clusters that remain. This helps to avoid the survival-of-the-fittest battle among the fruits and ensures the victors are prize-worthy.
By following this schedule, you’re giving your tree the best chance to produce apples that are the envy of your neighborhood – big, robust, and ready for that apple pie you’re famous for. Remember, this isn’t a one-off job; make it an annual tradition. Your tree, and your taste buds, will thank you for it.
Selection Criteria: Choosing Which Apples You Need to Thin
Choosing the contenders in the annual thinning of your apple tree is a bit like hosting auditions for the lead role in a play. You want the stars of the show to be the largest, healthiest fruits because, let’s face it, they steal the spotlight come harvest time. Thinning isn’t random; it’s a deliberate choice to favor the healthiest apples on the tree.
Spot the Winners
So, how do you spot the winning apples? It’s simple:
- Look for size and vigor. The apples that are visibly larger and look robust are your keepers.
- Check for good color and no signs of pests or disease. You want your lead actors to be in top-notch condition, not struggling with issues backstage.
Remove the Underperformers
Just as important as who stays is who goes:
- Any apples with visible damage or disease need to be removed. They’re not going to make it to the final curtain, and they might just bring down the rest of the cast with them.
- Look for the smallest or the misshapen. If they haven’t got the looks now, they won’t magically improve by the end of the season.
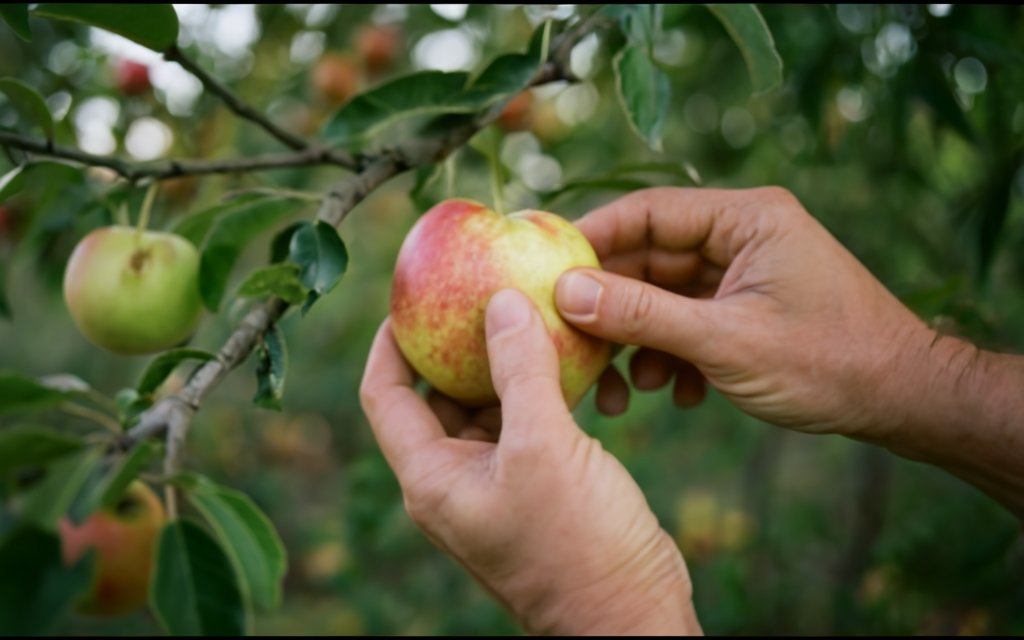
By selecting the healthiest apples, you’re not just setting the stage for a great harvest, you’re also reducing the risk of disease spreading through your tree. Diseased fruits are like spoilers for the ending of a good book – they can ruin the whole experience, not just for this year’s crop, but for the future ones too.
Proper Spacing: How to Space Thinned Apples
In the world of apple thinning, space is a luxury, and it’s one that your apples need to grow to their full potential. Giving your apples enough room is not just about being generous; it’s about being smart. So, how much space do apples really need to thrive?
Checklist for Proper Spacing
Here’s what you need to remember:
- 4 to 6 Inches Apart: Each apple should have about 4 – 6 inches (10-15 cm) of personal space. Thinning fruit to every six inches allows for ample growth and reduces competition for nutrients.
- One Fruit Per Cluster: Limiting to one apple per cluster prevents the fruits from jostling for space and light, much like having one singer on the microphone ensures a clear song.
This approach isn’t just about giving young fruit own ‘room’ to grow; it’s about ensuring that the nutrients from the tree aren’t being squandered on a crowded fruit party. You want each apple to get its share of the tree’s resources—water, nutrients, and sunlight—so it can develop into the kind of apple that gets picked first in the grocery store.
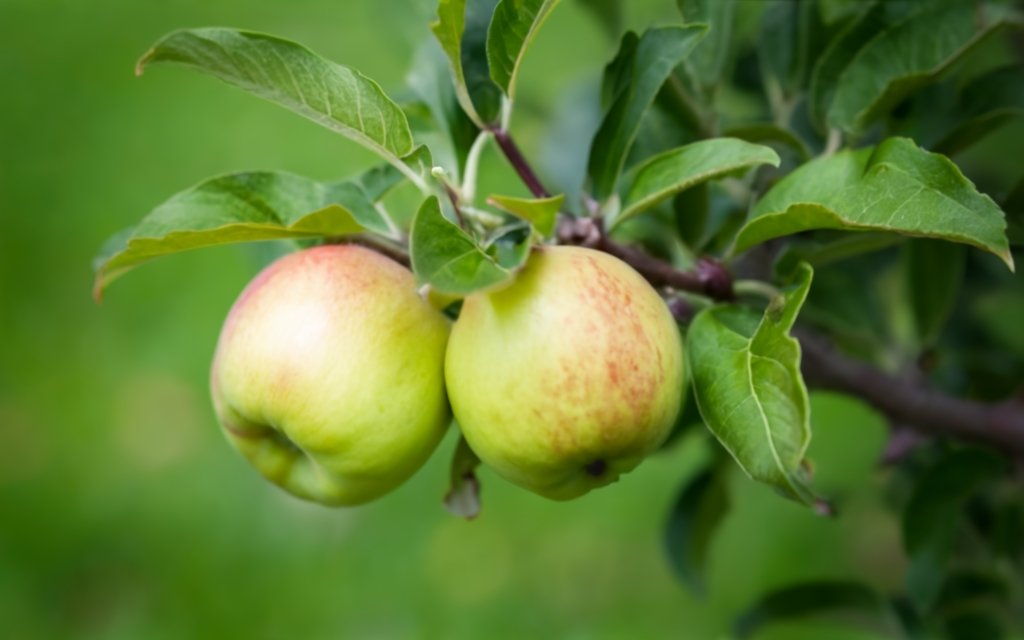
Ensuring proper spacing is like setting the stage for each fruit to be the star of its own show. It prevents the apples from shadowing each other, which can lead to smaller, inferior quality fruit. Plus, it promotes better air circulation around each apple, which is crucial for preventing disease.
Thinning Process: How to Thin Fruit Trees Correctly
If you learn how to thin your tree correctly, It’s like you become a skilled sculptor: you need the right tools and techniques to craft the masterpiece. In this case, the masterpiece is your apple tree, ready to produce the best fruits possible. So, grab your sharp pruner, and let’s get to work.
The Right Tools and Techniques
First up, sharp shears are non-negotiable. Dull tools can cause jagged cuts that harm the tree and invite disease. Here’s how to make the cut:
- Snip at the Stem: Aim to cut the stem close to the branch, but not too close. Leave about a quarter-inch (0.6 cm) stub to prevent damage to the spur.
- Avoid Spur Damage: Be mindful of the spurs, the bumpy parts on the branch where the flowers bloom. These are future fruit sites, so treat them with care.
Why the fuss about the spurs? Well, they’re the lifeline for future harvests. Damage them, and you might as well say goodbye to next year’s apples. So, when you’re snipping away, think of it as performing delicate surgery. You’re removing the excess to allow the remaining fruit to flourish.
Balance Thinning: Ensuring Even Canopy Distribution
Achieving a balanced canopy through thinning is crucial for the health of your apple tree. It’s all about even distribution, both horizontally and vertically, to ensure that every apple has its place in the sun, and good airflow.
Horizontal and Vertical Harmony
When thinning for balance, you’re aiming for a canopy that allows sunlight to kiss each apple good morning. Here’s how to do it:
- Horizontal Thinning: Look at your tree’s branches like lanes on a highway. Each apple needs its own lane. Remove apples that are too close to their neighbors to give remaining fruits room to grow and breathe.
- Vertical Thinning: Now, think of your tree like floors in a building. Each level should have enough space between it and the next, so there’s no shading or crowding.
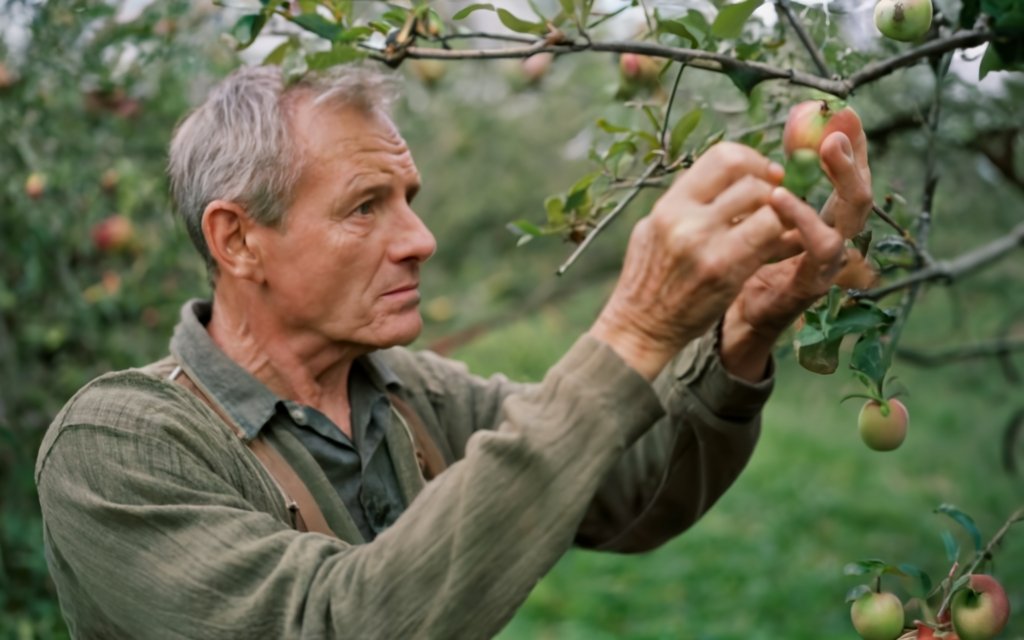
This approach isn’t just about aesthetics; it’s about practicality. Balanced thinning reduces the risk of disease and promotes better fruit quality. It ensures that air can circulate freely around the apples, which helps to keep pests and diseases at bay.
Imagine each apple as an individual with personal space needs. By thinning correctly, you’re ensuring that every apple has a chance to reach its potential, without being overshadowed or cramped by its neighbors.
Aftercare: Post-Thinning Care for Your Apple Tree
After you’ve thinned your apple tree, don’t just walk away and leave it to fend for itself. The post-thinning period is critical for recovery and setting up for a successful season. Here’s how you can play nurse to your tree’s needs.
Watering Wisely
Trees, much like people, appreciate a good drink after a hard day’s work. Post-thinning, your tree is in a state of healing, and consistent watering helps facilitate this process. Aim for:
- Deep Watering: Instead of frequent shallow sprinkles, go for less frequent but deep watering sessions. This encourages the roots to grow deeper, making your tree more drought-resistant.
Monitoring for Stress and Disease
Now, let’s talk about keeping an eye on your tree’s health:
- Stress Signals: Look out for wilted leaves or sluggish growth. These are SOS signs from your tree, indicating it needs more TLC.
- Disease Watch: Keep an eagle eye out for any signs of disease. Early detection means a better chance of managing any issues before they become big problems.
Regular check-ups are key. Just like you’d monitor a healing wound on your skin, you need to do the same for your tree. Make sure it’s showing signs of healthy growth and not displaying distress signals that could indicate bigger issues.
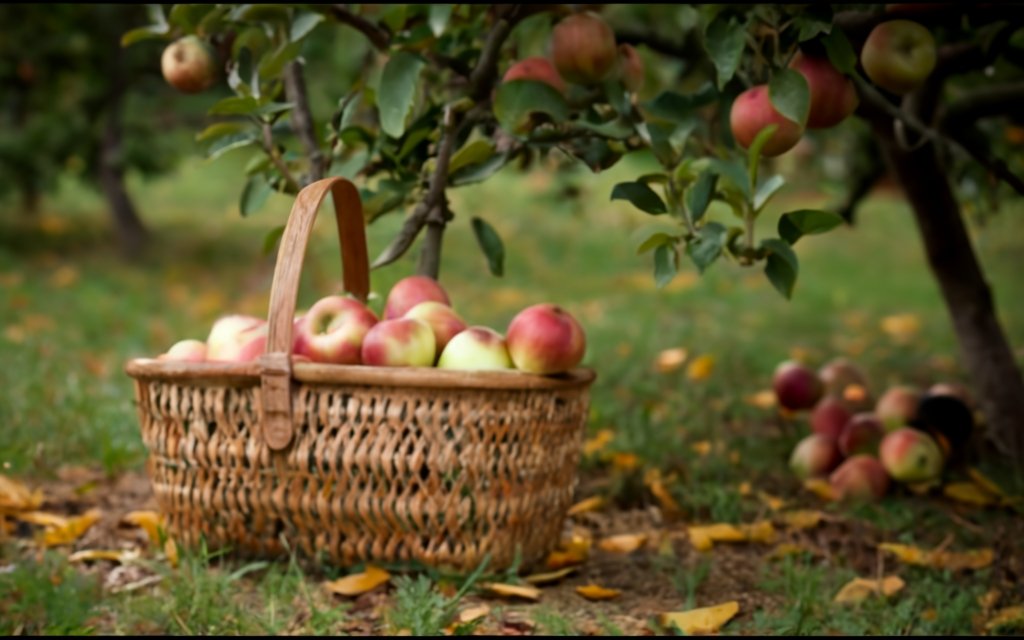
Finally, remember that trees, too, can feel a bit ‘under the weather’ after a major procedure like thinning. Give it some time, a bit of care, and before you know it, your tree will be back to its robust self, ready to reward you with a bountiful harvest.
Safety and Cleanup: Secure Thinning Practices
Thinning your apple tree is as much about safety as it is about the health of your tree. From secure ladder practices to responsible disposal of fallen fruit, let’s ensure your thinning process is safe from start to finish.
Ladder Safety 101
- Stable Ground: Always place your ladder on firm, level ground to prevent wobbles or falls.
- Correct Angle: Position the ladder at a safe angle, following the 4-to-1 rule: for every four feet of ladder height, move the base one foot away from the tree.
- Proper Footwear: Wear shoes with a good grip. Slippery soles have no place on a ladder.
Fruit Disposal Done Right
Once you’ve safely navigated the heights of your apple tree, it’s time to tackle the fruits of your labor on the ground.
- Composting: Composting the thinned apples is a great way to recycle nutrients back into your garden. Just make sure to chop them up to speed up the composting process.
- Avoid Disease Spread: If any thinned fruits show signs of disease, don’t compost them. This could spread pathogens to your compost pile. Instead, dispose of them with your household waste or burn them if local regulations allow.
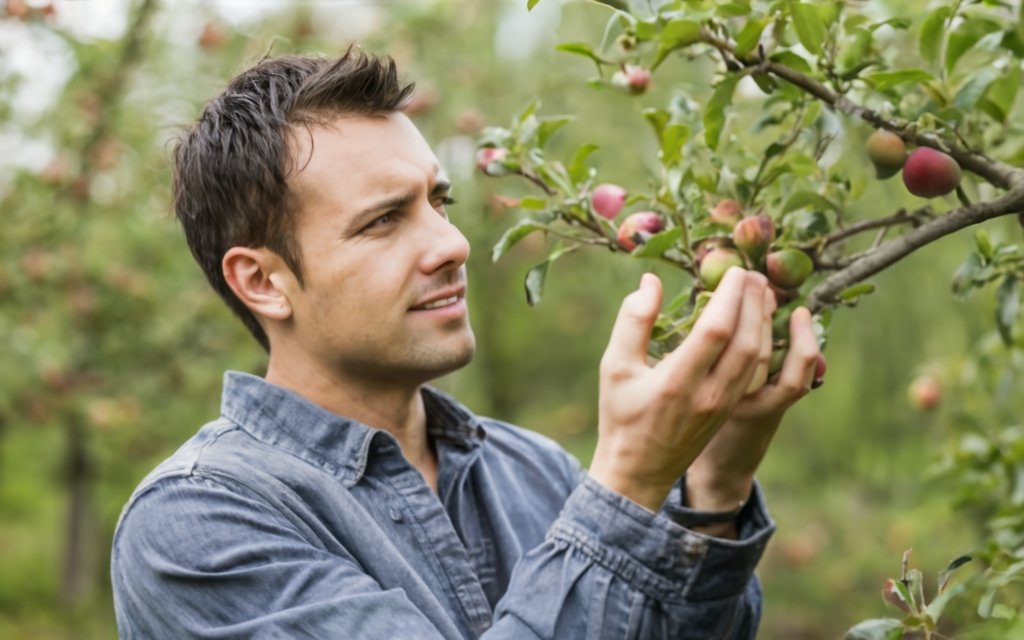
Safety can’t be an afterthought when you’re working with ladders and sharp tools. Always prioritize your well-being, and when you’re done, give back to the earth by composting what you can. Your garden will thank you, and so will the environment.
Avoid Over-Thinning: Protecting Your Crop Yield
In the quest for the perfect apple, there’s a thin line between just right and too much. When it comes to thinning your apple tree, a little restraint goes a long way to protect your crop yield.
The Halfway Rule
Here’s a straightforward principle to prevent over-thinning:
- Never Remove More Than Half: As a rule of thumb, don’t remove more than half of the developing apples. This ensures you preserve not only the quantity but also the quality of your crop.
Why stick to half? Because while thinning is beneficial, taking away too much can lead to a reduced harvest. You want to strike a balance between enough fruit to make your efforts worthwhile and not so many that they become small and tasteless.
Quality, Not Just Quantity
- Assess the Tree’s Load: Look at how heavily your tree is bearing. If it’s groaning under the weight of too many apples, thinning can help. But if the fruit is already sparse, ease up on the thinning.
- Monitor Growth: After thinning, keep an eye on how the remaining apples develop. They should start to grow larger if you’ve thinned correctly.
Remember, the goal is a bounty of healthy, sizable apples—not just a tree that looks busy. Over-thinning can rob you of that satisfaction come harvest time, so be conservative in your approach. Think of it as ensuring there’s enough pie to go around when those apples are ripe and ready.
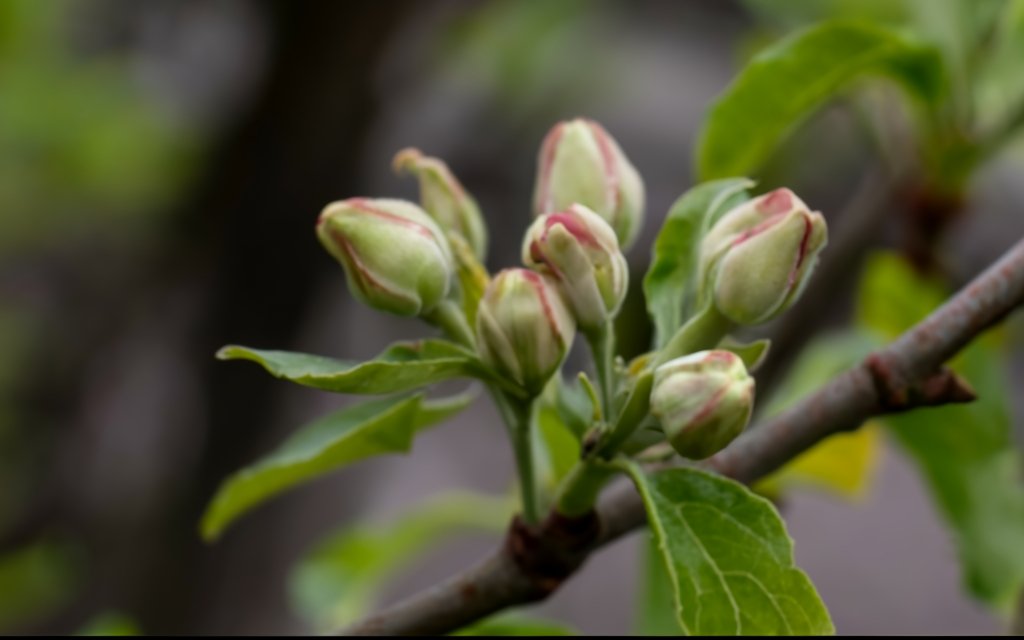
Pruning Overlap: Complementary Practices
Thinning and pruning are the dynamic duo of apple tree care, each with its own role in shaping the health and productivity of your tree. While thinning manages the fruit, pruning shapes the future of the branches themselves.
The Art of Shaping
Pruning isn’t just about cutting; it’s about planning. Here’s what you should focus on:
- Remove Competing Branches: Identify and remove branches that compete for space and light. This ensures the tree’s energy is directed to growing strong, healthy branches that can support your fruit.
- Improve Tree Shape: A well-shaped tree isn’t just pleasing to the eye; it’s structurally sound and easier to manage. Aim for an open canopy that allows light to penetrate and air to circulate, reducing disease risk and promoting even fruit ripening.
Complementing Thinning with Pruning
Now, how do these two practices work hand in hand?
- Post-Thinning Assessment: After thinning, take a step back and look at your tree. Does it have a good shape? Are the branches well-spaced? If not, it’s time for some strategic pruning.
- Seasonal Synergy: Typically, major pruning is done during the dormant season, but light pruning can be done in summer after thinning to remove any excess growth or dead wood.
Alternative Methods: Beyond Manual Thinning
While manual thinning is the go-to for many, there’s another player on the field—chemical thinners. These can be a game-changer for larger orchards where hand-thinning every tree is a herculean task.
Manual vs. Chemical Thinning
- Manual Thinning: This is all about the personal touch. It allows for precise control over which apples stay and which go. The downside? It’s labor-intensive and time-consuming, especially for those with more than a few trees.
- Chemical Thinners: Applied as a foliar spray, chemical thinners can thin a large number of trees quickly and with less labor. However, they require careful handling and precise application to avoid over-thinning or environmental harm.
Weighing the Pros and Cons
- Pros of Chemical Thinners:
- Efficiency: Cover more ground in less time.
- Uniformity: Achieve a more consistent thinning across a large orchard.
- Cons of Chemical Thinners:
- Less Control: It’s harder to target specific fruits for removal.
- Chemical Use: There’s the consideration of introducing chemicals into your environment, which may not align with organic practices.
Making the Choice
Deciding between manual thinning and chemical thinners comes down to scale, resources, and personal philosophy. If you have the time and prefer a hands-on approach, manual thinning is your best bet. For commercial growers, chemical thinners may be the pragmatic choice.
Learn how to properly thin apple trees in June to improve fruit quality and future yields. Thinning ensures regular, good-sized, and high-quality fruit, preventing overbearing one year and barrenness the next. Proper thinning also allows for disease control and branch preservation, leading to better ripening and future crop success.
🍏 Thinning apple trees in June benefits current and future crops.
🌳 Thinning ensures good-sized, high-quality fruit and prevents overbearing.
🍎 Different rules apply for dessert and cooking apples.
🌳 Selectively thin to preserve healthy-looking fruits and control disease.
☀️ Favor apples on sunny sides of branches for better ripening.
💪 Proper thinning helps conserve energy for future fruit bud formation.
🍂 Enjoy nice-sized, high-quality apples this autumn and ensure a good crop for next year.
FAQ: Thinning Other Tree Fruits
How to thin a peach tree?
Thinning a peach tree is similar to an apple tree, but with its own nuances. Like apples, peaches should be thinned to improve fruit size and tree health. The key phrase here is “thin peaches in stages” – start when the fruits are small, about the size of a marble, and thin again a few weeks later to allow for those that fall naturally. Aim for spacing them about 6-8 inches apart on the branches.
How to thin a plum tree?
Plum trees, as with other tree fruits, require thinning to prevent overbearing and ensure healthy fruit development. The process is akin to apples, focusing on removing excess fruits to improve the quality and size of the remaining plums. They should be spaced so that each plum has enough room to mature without touching its neighbors.
How to thin a pear tree?
Thinning a pear tree shares the same principles as thinning an apple tree. It’s important to remove the excess fruit early in the season, which allows the remaining pears to grow larger and prevents branch stress. Pear trees benefit from this as it also helps in managing pests and diseases.
How to thin an apricot tree?
Thinning apricot trees is comparable to apple trees, with the goal of enhancing fruit quality and reducing limb stress. Apricots typically require less thinning than apples, and the timing is critical. Thin apricots when they’re about the size of a hazelnut to prevent the branches from becoming overburdened.
