How to layer a compost bin? It’s like making a garden lasagna. Kick off with a base layer of twigs or straw for airflow, followed by alternating layers of green (like fruit and vegetable scraps) and brown materials (such as leaves and twigs). Each layer should be about 2-4 inches (5-10 cm) thick. Sprinkle some water between layers to keep the moisture level just right, and voila, you’re on the composting express! Let’s dig in.
Choosing the Right Spot for Your Compost Bin
When it comes to composting, location is everything. Before you start tossing in kitchen scraps and yard waste, take a moment to choose the perfect spot for your compost bin.
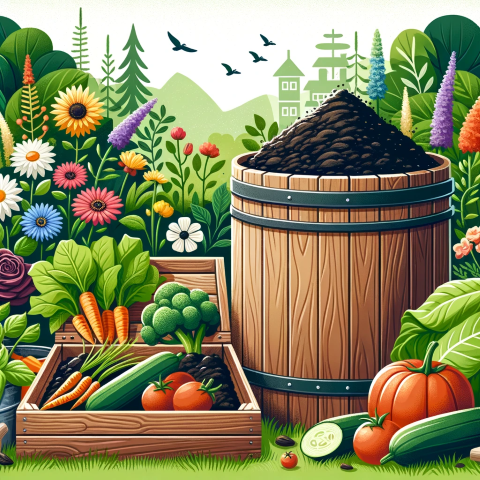
- Accessibility: Pick a spot that’s easy to reach, regardless of the weather. The last thing you want is a trek to Mordor every time you have some banana peels to discard.
- Sunlight and Shade: A healthy mix of sunlight and shade is ideal. Too much sun and your compost may dry out; too much shade and it might not heat up enough to break down properly.
- Drainage: Placing your compost bin over bare earth is preferable as it allows for better drainage and gives the lovely decomposer organisms easy access to the compost pile.
- Away from Pests: Keep it away from areas that might attract unwanted pests or where it might become a nuisance to your neighbors.
- Water Source: Having a water source nearby is a bonus for those dry days when your compost needs a little moisture boost.
Now, have you spotted that prime real estate in your backyard or community garden yet? Yes, the one with a good balance of sun and shade, not too far from your kitchen door? Great!
Starting composting in the right spot not only makes the process smoother but also sets the foundation for a thriving compost pile. And remember, a happy pile is a productive pile. So roll up those sleeves, grab your bin, and let’s get composting!
Compost Layering: Starting Off on the Right Foot
Starting with a solid foundation is key in many areas of life, and composting is no different. When you build a compost pile, the base layer of your compost bin is like the cornerstone of a building, setting the stage for what’s to come. But what makes a good base layer?
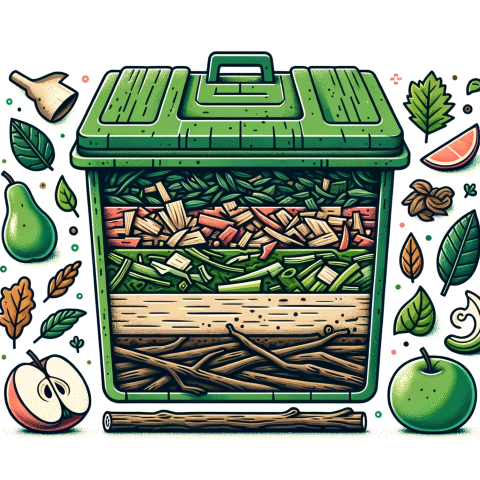
- Twigs and Branches: Begin with a layer of twigs, branches, or any other coarse yard waste you have on hand. This layer should be about 4 to 6 inches (10 to 15 cm) thick. Its primary goal? To allow air to circulate to the compost pile above. Airflow is a good friend of compost; it keeps things from getting too stinky.
- Particle Size: The items in your base layer should be bulky but not too large. Aim for pieces between 1 to 4 inches (2.5 to 10 cm) in diameter. This size is a sweet spot—large enough to create air pockets but small enough to break down over time.
- Spread ‘Em Out: Spread these materials out to cover the entire bottom of your compost bin. It’s like laying down a breathable foundation for the organic skyscraper that will rise above.
- It’s Not a One-Time Deal: While this is your initial base layer, as you add more material to your compost, feel free to throw in some additional twigs and branches to keep that airflow going strong.
Have you rustled up some twigs and branches yet? This is your compost’s first step towards becoming black gold for your garden.
This base layer isn’t just a place to dump yard waste; it’s the aeration system for your compost pile. With a good base, you’re not only keeping things airy but also setting the pace for a successful composting journey. Now, let’s move on to adding some color to our compost with green and brown layers!
Green and Brown: Layer Compost With Color!
Welcome to the core of composting! The essence of a thriving compost pile lies in the balance between the green and brown layers. But what’s the deal with these colors?
- The Green Goodness:
- Green layers are all about nitrogen.
- Think of green materials as the protein shake for the microorganisms breaking down your compost material.
- Common green materials include fruit and vegetable scraps, coffee grounds, and fresh lawn clippings.
- The Brown Buffet:
- Brown layers, on the other hand, are rich in carbon.
- They are like the carbohydrate that fuels the decomposition process.
- Examples include dry leaves, straw, and shredded newspaper.
Now, let’s take a look at some common green and brown materials and their carbon to nitrogen ratios to help you layer compost like a pro:
| Material | Type | Carbon:Nitrogen Ratio |
|---|---|---|
| Fruit Scraps | Green | 35:1 |
| Vegetable Scraps | Green | 25:1 |
| Coffee Grounds | Green | 20:1 |
| Fresh Lawn Clippings | Green | 19:1 |
| Dry Leaves | Brown | 60:1 |
| Straw | Brown | 75:1 |
| Shredded Newspaper | Brown | 175:1 |
Do you have a mix of these materials at home? Great, you’re already on your way to becoming a composting connoisseur!
A good rule of thumb is to aim for a balance – about 3 parts brown to 1 part green. This ratio ensures your compost remains a hospitable home for microorganisms while avoiding any foul odors.
Now, when you add these layers, don’t just dump them in. Alternate between green and brown to create a sort of lasagna-like structure (without the cheese and tomato sauce, of course). Start with a brown layer, then green, and back to brown. And so on.
Getting the balance right between green and brown isn’t just a fun color game—it’s the secret sauce to speedy composting. So, gather your greens and browns, and let’s create a compost pile that’s the envy of the neighborhood!
However, while you’re on this composting adventure, there are certain items you should steer clear from. Avoid adding meat, dairy, and diseased plants to your compost pile. These items can attract pests, create bad odors, or spread diseases in your compost and later, your garden. Also, steer clear from pet wastes as they might carry harmful pathogens. It’s essential to know what goes into your compost to ensure a healthy, fruitful pile that benefits, rather than harms, your garden and the environment. Remember, a good compost pile is a bit like a good party—inviting the right guests is key to a great outcome!
Layer Your Compost: Achieving the Perfect Thickness
When it comes to layering your compost pile, thickness matters. But how thick is thick enough without going overboard? Let’s crack this nut.
- Ideal Thickness:
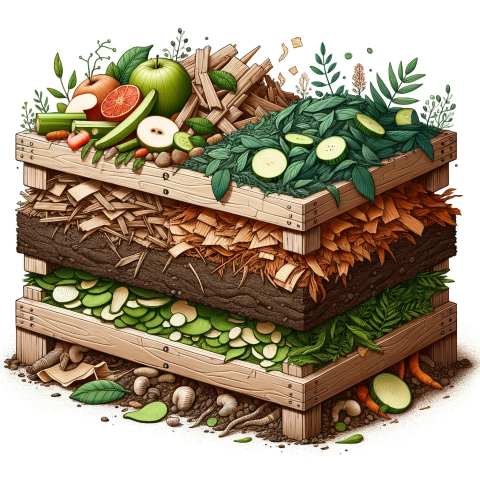
- Aim for a layer thickness of about 4 to 6 inches (10 to 15 cm) for both green and brown materials.
- This thickness is enough to provide a good balance of organic matter while still allowing air to circulate.
- Why it Matters:
- Too thick a layer, and you might suffocate the microbes doing the hard yards.
- Too thin, and they might not have enough compost material to munch on.
- Fine Tuning:
- It’s not just a set-it-and-forget-it situation.
- If you notice your compost is breaking down slowly, try thinner layers.
- Conversely, if things are smelling a bit off, you might want to beef up your brown layers a tad.
Now, how does your compost pile measure up? Got your ruler out? Just kidding, you don’t need to be that precise!
Achieving the perfect layer thickness is more art than science. It’s about observing your compost and understanding its needs. If it’s looking a bit sluggish, perhaps slim down the layers. If it’s getting too wet or smelly, add more brown materials to sop up the excess moisture and balance things out.
With a bit of practice, you’ll find the sweet spot that works for your compost pile. And remember, composting is a forgiving process; don’t sweat the small stuff. Keep layering, keep learning, and you’ll be a composting maestro in no time!
Compost Too Wet or Dry? Maintaining the Moisture Level
Water is the unsung hero of the composting saga. It’s what keeps the microorganisms in your compost pile happy and working efficiently. But like with anything, balance is key. So how do you maintain the Goldilocks level of moisture – not too dry, not too wet, but just right?
- The Wrung-Out Sponge Test:
- A well-hydrated compost pile should feel like a wrung-out sponge.
- Grab a handful of compost and give it a squeeze. If a few drops of water come out, you’re in the hydration sweet spot.
- Adding Your Water Layer:
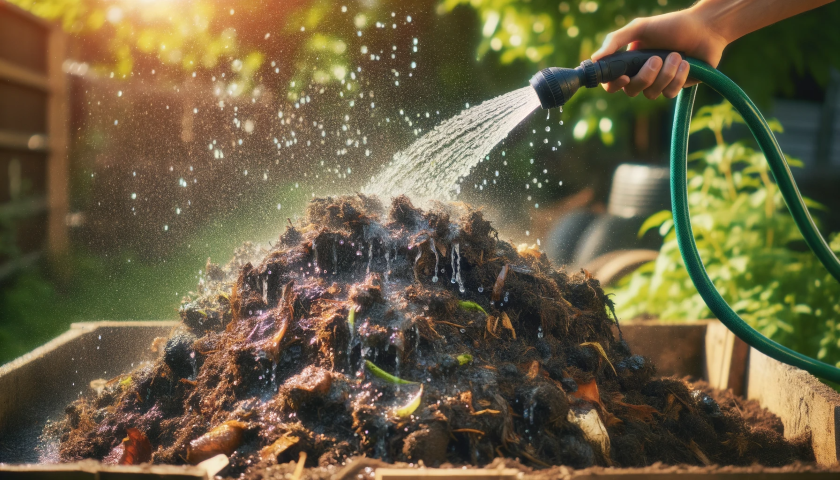
- When you add new material to your compost pile, give it a good sprinkle of water.
- Think of it like a lasagna; every time you add a new layer of compost material, moisten it with water.
- Too Wet or Too Dry?:
- If your compost is too wet, add more brown material to soak up the excess moisture.
- Conversely, if it’s too dry, add more green material or give it a water boost.
- Rainfall and Cover:
- If you live in a wet climate, consider covering your compost to prevent it from becoming a soggy mess.
- On the flip side, in dry climates, you might need to water your compost more frequently.
- Monitoring Moisture:
- Keep an eye on the compost moisture level. It’s crucial for keeping the decomposition process on track.
- If you’re into gadgets, there are moisture meters available that take the guesswork out of this process.
So, have you done the wrung-out sponge test yet? Ensuring the right water layer is like being a good bartender for your compost, knowing when to pour another round and when to call it a night. Stay attentive to the moisture level, and your compost pile will hum along, breaking down those layers into black gold for your garden.
Boosting the Process with Additional Layers
Now that you’ve got the basics down, let’s talk about going the extra mile. Adding some additional layers can give your compost that extra oomph it needs to break down efficiently. We’re talking about compost inoculators and compost starters. These additions can ramp up the decomposition process, turning your compost material into garden gold faster. But what are they, and how do you use them in your compost layering?
- Compost Inoculators:
- These are essentially microorganisms that help kickstart the decomposition process.
- You can use garden soil, finished compost, or even buy a commercial inoculator.
- Compost Starters:
- Think of compost starters as the energy drink for your compost pile.
- They often contain higher levels of nitrogen to get things cooking.
Here’s a table to break down some common compost boosters, their benefits, and how often they should be added:
| Compost Boosters | Benefits | Frequency of Addition |
|---|---|---|
| Garden Soil | Introduces microorganisms | Initially, then as needed |
| Finished Compost | Adds microorganisms and nutrients | Initially, then every few layers |
| Commercial Inoculator | Specifically designed microorganisms | As directed on packaging |
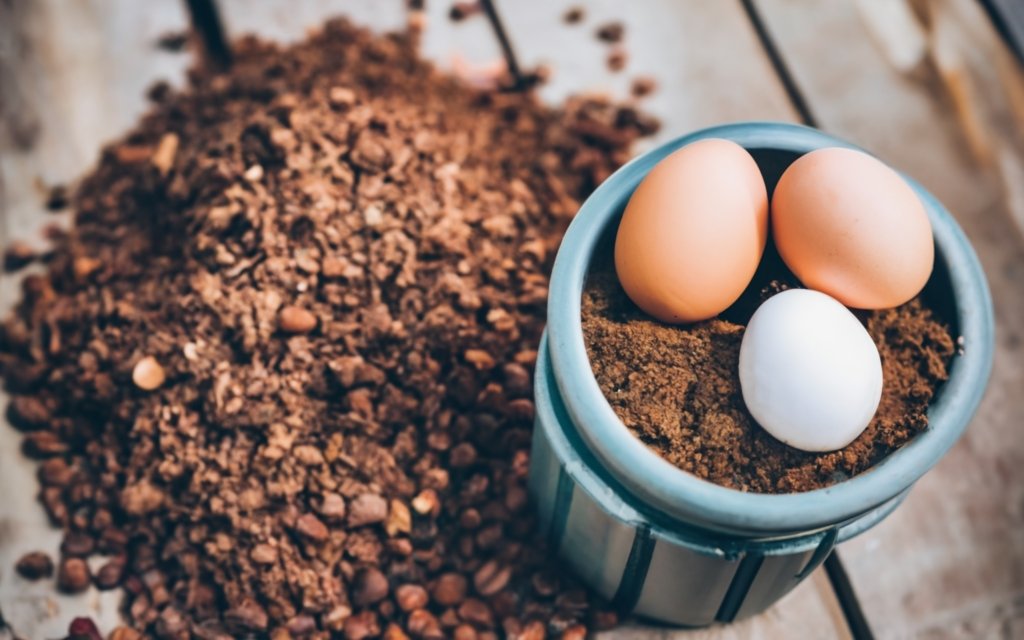
| Coffee Grounds | High nitrogen content | Every few layers |
| Crushed Eggshells | Adds calcium | Every few layers |
Now, are you ready to give your compost a boost? Adding these special layers can help ensure a healthy, happy compost pile. While not strictly necessary, they can be the difference between a compost pile that’s just moseying along and one that’s in a full sprint towards the finish line. So, consider giving these boosters a try, and watch your compost thrive!
Turning and Maintaining Your Compost Pile
Now, onto the upkeep of your compost pile. It’s not just a ‘set it and forget it’ deal; your compost needs a bit of TLC to do its magic. Here’s how to maintain your compost and keep the composting process running smoothly.
- Turning the Compost:
- Turning your compost is like giving it a good stretch. It needs to move to breathe.
- Aim to turn the compost pile every week or two. This mixes up the materials and allows air to flow through, which is essential for breaking down the compost material.
- Aerating the Compost:
- Aeration is the fancy word for getting air into the pile.
- When you turn the compost, you’re aerating it, which helps to speed up the decomposition process.
- Monitoring Progress:
- Peek into your compost pile regularly. Is it breaking down? Does it have a pleasant earthy smell?
- If it’s too wet, add more brown materials. Too dry? Add some water or green materials.
- Keep it Covered:
- A cover can help maintain moisture levels, especially during hot or rainy days.
- Use a tarp, a piece of wood, or a commercial compost bin lid to keep things in check.
- Adjusting as Needed:
- If things seem slow, try turning more frequently or adjusting your green and brown layers.
- Remember, every compost pile has its own personality, and it might take some tweaking to get things just right.
Ready to roll up those sleeves and get turning? Your compost pile is a living, breathing entity (well, sort of). It needs air, moisture, and a good mix of materials to thrive. Keep an eye on it, aerate the compost regularly, and you’ll be well on your way to creating black gold for your garden.
Measuring the Moisture Level: Avoiding a Soggy Mess
Alright, let’s dive into the watery world of your compost pile. Well, not literally, as that’s exactly what we’re trying to avoid here. The compost moisture level is a game changer in the composting process. Too wet, and you’ll be wading through a soggy mess. Too dry, and your compost will be as lifeless as a desert. So, how do we strike the right balance?
- Feel Test:
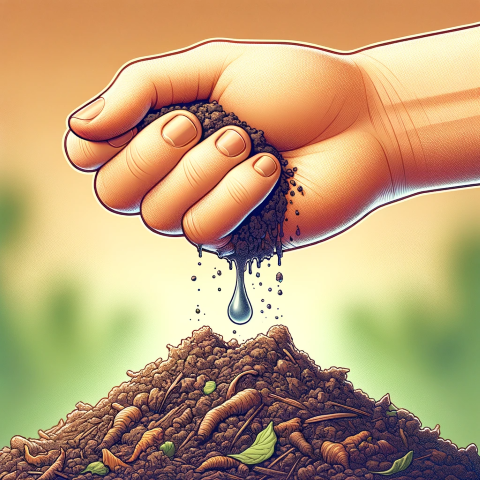
- The good old hand test never fails. Grab a handful of compost; it should feel like a wrung-out sponge.
- If water drips out when you squeeze, it’s too wet. No moisture at all? It’s too dry.
- Adjusting Moisture Levels:
- If your compost feels like a swamp, add more brown materials to soak up the excess moisture.
- Conversely, if it’s too dry, sprinkle some water or add more green materials to ramp up the moisture level.
- Cover Up:
- Covering your compost can help regulate moisture, especially during a rainstorm or a dry spell.
- It’s like giving your compost a little umbrella or a sun hat, keeping it just right, come rain or shine.
- Drainage:
- Ensure your compost bin has good drainage to prevent waterlogging.
- It’s all about allowing excess water to escape while keeping the essential moisture locked in.
- Regular Turning:
- Turning your compost not only aerates the pile but also helps distribute moisture evenly.
- Think of it as giving your compost a good mix, so everyone gets a sip of water.
Tackling the compost moisture level isn’t rocket science. It’s about observing, adjusting, and keeping things balanced. Too wet? Add browns. Too dry? Add greens or a splash of water. Regular check-ins and a little TLC will keep your compost from turning into a compost too wet scenario. Now, who’s ready to become the Goldilocks of composting?
Reaping the Environmental Rewards of Composting
So, you’ve decided to embark on the rewarding journey of composting at home. You’re not just creating rich soil enhancer; you’re also donning the cape of an eco-hero. Here’s a little look into how your composting habit is playing its part in saving the good ol’ planet.
- Waste Reduction:
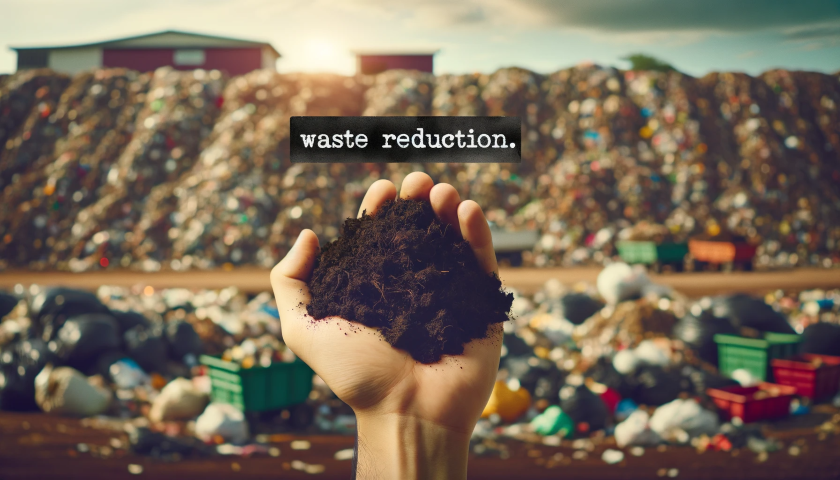
- By composting your organic waste, you’re diverting it away from landfills where it would otherwise produce methane, a potent greenhouse gas. A little mound of compost in your backyard is indeed a giant leap for mankind!
- Soil Enrichment:
- Compost adds valuable nutrients back into the soil, reducing the need for chemical fertilizers.
- Healthy soil means happy plants, and happy plants mean a thriving ecosystem.
- Water Retention:
- Compost improves soil structure, enabling it to retain water better. This is a boon especially in areas prone to drought.
- Erosion Control:
- Using compost can prevent soil erosion. This is Mother Nature thanking you for holding her soil together, quite literally.
- Supporting Local Ecosystems:
- Composting supports the survival of beneficial microorganisms and insects, promoting a balanced local ecosystem.
- Reducing Greenhouse Gases:
- The composting process converts organic material into stable soil carbon, thus reducing emissions of greenhouse gases.
- Economic Benefits:
- Composting can reduce the cost of buying soil and fertilizers, and hey, who doesn’t love saving some green while going green?
This isn’t just about how to layer a compost bin; it’s about embracing a lifestyle that nods to sustainability. Your composting methods are not only turning waste into wonder but are also making a statement, a green statement. Now, isn’t it comforting to know that the rotting banana peels and apple cores are part of something much bigger?
The Finish Line: Knowing When Your Compost is Ready
The moment of truth in the composting process is when your compost pile transforms from a heap of organic waste into a mound of rich, earthy finished compost. It’s like watching your baby grow up, only less tear-inducing and with a more earthy aroma. Here’s how to tell when your compost is ready to spread its wings (or rather, its nutrients).
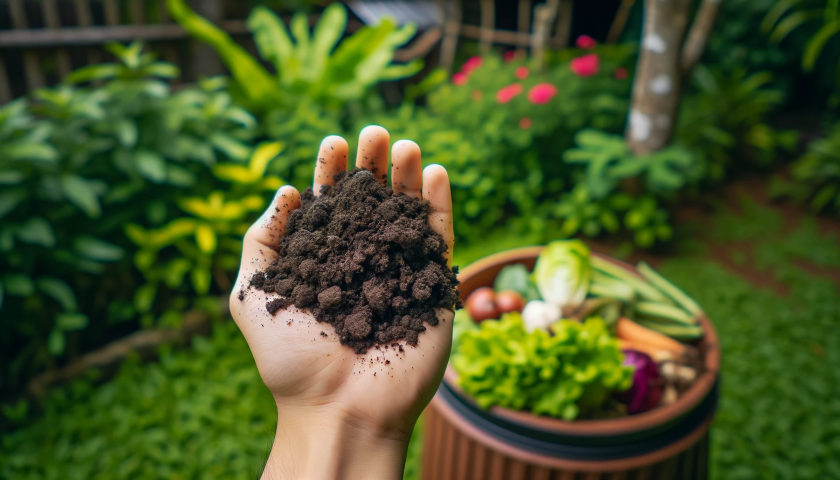
- Color and Texture:
- Your compost should be dark brown, with a crumbly texture similar to that of good garden soil. If it still looks like the salad you threw out last week, give it more time.
- Smell:
- Ready compost has a pleasant, earthy smell. If it reeks, it’s a sign that the composting process is still ongoing.
- Temperature:
- A cooled down compost pile is a sign of finished compost. During the composting process, the pile heats up, but once done, it will return to ambient temperature.
- Invisible Food Scraps:
- If you can still identify the food scraps, it needs more time. Finished compost should have a uniform appearance with no recognizable pieces of food or yard waste.
- The Bag Test:
- Place a small amount of compost in a resealable plastic bag, and sniff it after a few days. If it smells bad or too strong, it’s not ready.
- Worm Welcome:
- If worms and other soil critters have made a home in your compost, that’s a great sign. They’re your garden’s little helpers.
- Screen Test:
- Pass your compost through a screen to remove any unfinished material. The fine, finished compost will fall through, separating from larger, unfinished materials.
And there you have it. The signs that your diligent composting has paid off and the organic cycle has come full circle. It’s a beautiful thing, isn’t it? Now go, spread that black gold on your garden and watch it thrive!
