
Starting basil from seed is a rewarding endeavor that offers numerous benefits. Not only does it provide you with a plentiful supply of this versatile herb, but it also allows you to witness the miracle of growth right from the start. Plus, it’s a cost-effective way to keep your kitchen stocked with fresh basil all season long.
Choose a sunny location, prepare the soil by mixing in compost, well-rotted manure, or a quality potting mix. Sow seeds 1/4 inch (6mm) deep and an inch (2.5cm) apart. Once seedlings have two to three pairs of leaves, thin to 3 to 4 inches (7.5 to 10cm) apart. Water deeply when the top inch (2.5cm) of soil becomes dry. Apply liquid fertilizer every 14 days. Harvest when plants have 6 to 8 leaves, by removing enough of the stem so that only 2 to 4 leaves remain. Basil germinates when soil temperatures are between 75-85°F (24-30°C). They take about 7 to 10 days to sprout. Transplanting basil requires care to avoid shock. Propagation from cuttings is also possible. Regular care and maintenance, along with proper seed drying and storage, ensure a healthy basil plant.
Why Start Basil from Seed?
There are a few compelling reasons to start basil from seed:
- Greater Variety: When you start from seed, you can choose from a wider array of basil varieties than what’s typically available as seedlings at garden centers.
- Healthier Plants: By controlling the growing conditions from the start, you can raise stronger, healthier plants that are more resistant to pests and diseases.
- Economical: A packet of seeds costs about the same as a single basil plant at the nursery, but it can produce dozens of plants.
🌱 Basil Buzz: Starting basil from seed isn’t just for those with a green thumb. Even if you’re new to gardening, basil is a great plant to start with because it’s easy to grow and germinates quickly. 🌱
Ready to get started? In this article, we’ll guide you through the process of starting basil from seed, both indoors and outdoors. We’ll cover everything from sowing the seeds to harvesting your basil. Let’s dive in!
Choosing the Right Location for Your Basil
Just like us, plants have their preferences when it comes to their living conditions. For basil, it’s all about the sun and the soil. Let’s explore these two crucial factors in more detail.
The Sun Factor
Basil is a sun-loving plant that thrives in warm conditions. It requires at least 6 hours of sunlight per day. So, whether you’re growing basil indoors or outdoors, make sure to choose a location that gets plenty of sunlight.
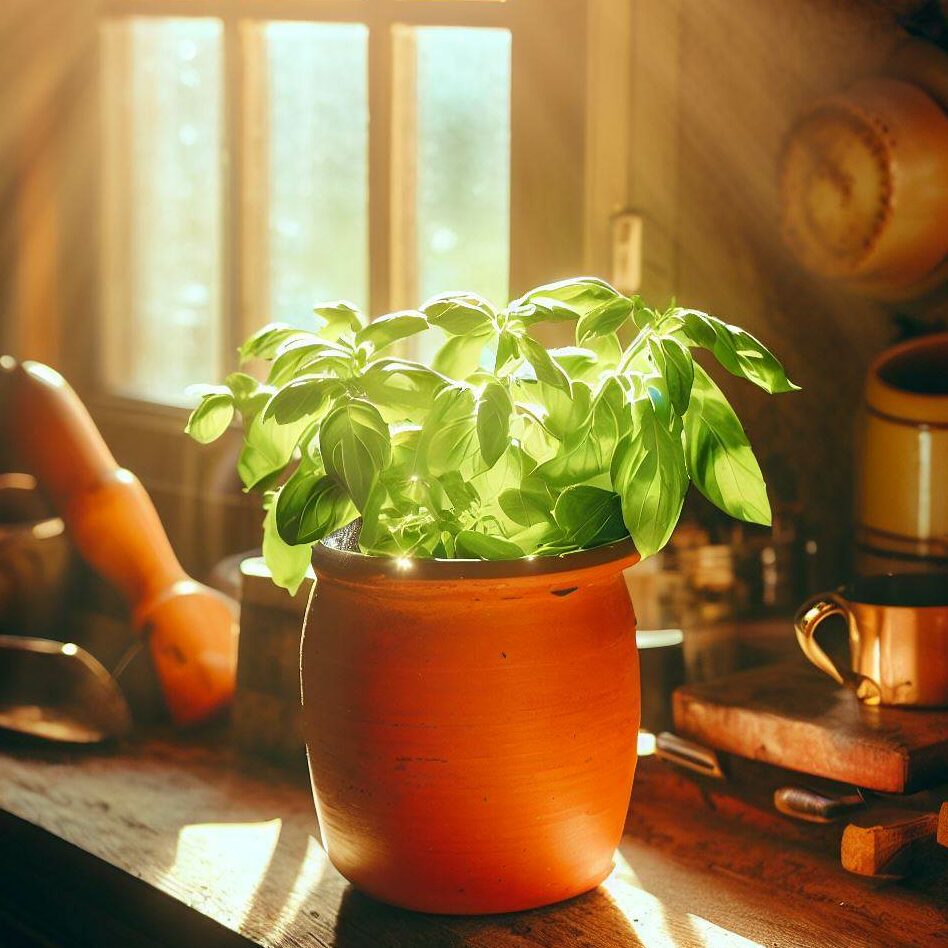
🌱 Basil Buzz: If you’re growing basil indoors, a south-facing windowsill is often the best spot. If you don’t have a sunny windowsill, consider using a grow light to supplement the natural light. 🌱
The Soil Factor
Basil prefers nutrient-rich, well-drained soil. It doesn’t like to have “wet feet,” so avoid areas where water tends to pool. If you’re planting in containers, make sure they have adequate drainage holes.
- Nutrient-rich: Basil is a heavy feeder, so it appreciates soil that’s rich in organic matter. Compost or well-rotted manure can provide the nutrients your basil needs to thrive.
- Well-drained: While basil likes moist soil, it doesn’t do well in waterlogged conditions. Make sure your soil drains well to prevent root rot.
🌱 Basil Buzz: If you’re planting basil in the garden, you can improve the soil’s fertility and drainage by adding organic matter, such as compost or well-rotted manure. 🌱
By choosing the right location for your basil, you’re setting the stage for a successful growing season. Next, let’s talk about how to prepare the soil for planting.
Preparing the Soil for Planting
Now that you’ve chosen the perfect spot for your basil, it’s time to prepare the soil. Proper soil preparation can make a big difference in your basil’s growth and productivity. Let’s walk through the steps.
Preparing Garden Soil
If you’re planting basil in the garden, follow these steps:
- Dig the Soil: Use a garden fork or tiller to loosen the soil to a depth of 6 to 8 inches (15-20 cm). This helps the basil roots penetrate the soil easily.
- Add Compost: Mix in compost or well-rotted manure to enrich the soil with nutrients. Basil is a heavy feeder, so it appreciates nutrient-rich soil.
- Level the Soil: Rake the soil to level it and break up any large clumps. This creates a smooth planting surface.
🌱 Basil Buzz: If your soil is heavy clay or sandy, adding organic matter can improve its texture and fertility, making it more suitable for basil. 🌱
Preparing Potting Mix for Containers
If you’re planting basil in containers, use a quality potting mix that promotes water and nutrient uptake. Avoid using garden soil in containers as it can compact and hinder drainage.
🌱 Basil Buzz: Consider using a potting mix designed for herbs or vegetables. These mixes often contain added nutrients that can give your basil a good start. 🌱
With your soil or potting mix prepared, you’re ready to sow your basil seeds. Let’s move on to the next step!
Sowing Basil Seeds
With your soil prepared, it’s time to sow your basil seeds. Basil seeds can be started indoors in a window or beneath a grow light, or directly sown outdoors. Let’s explore both methods.
Starting Basil Seeds Indoors
Starting basil seeds indoors gives you a head start on the growing season. Here’s how to do it:
- Fill Pots: Fill 4-inch pots with a quality potting mix.
- Sow Seeds: Plant 6 to 8 seeds per pot, sowing them 1/4 inch deep.
- Water: Water the seeds gently but thoroughly.
- Provide Light: Place the pots in a sunny window or under a grow light.
- Keep Warm: Basil seeds germinate best when soil temperatures are between 75-85°F. Use a heat mat if necessary to maintain this temperature range.
🌱 Basil Buzz: Basil seeds should sprout in about 7 to 10 days. If germination is slow, check the soil temperature and light conditions. 🌱
Direct Sowing Basil Seeds Outdoors
If you prefer to sow basil seeds directly in the garden, follow these steps:
- Wait for Warm Weather: Basil is sensitive to cold, so wait until after the last frost to sow seeds outdoors.
- Prepare the Soil: Rake the soil smooth and remove any debris.
- Sow Seeds: Plant seeds 1/4 inch deep and about an inch apart.
- Water: Water the seeds gently but thoroughly.
🌱 Basil Buzz: If you’re sowing basil seeds in a large area, consider using a seed spreader to distribute the seeds evenly. 🌱
Whether you start your basil seeds indoors or outdoors, the key to successful germination is providing the right conditions. Basil seeds need warmth, light, and moisture to germinate. By meeting these needs, you’ll be on your way to a bountiful basil harvest. Next, let’s talk about how to care for your basil seedlings.
Thinning Basil Seedlings
Once your basil seedlings have sprouted and grown a bit, it’s time for thinning. Thinning is the process of removing some seedlings to give the remaining ones more space to grow. It may seem counterintuitive to remove healthy seedlings, but it’s an important step in growing strong, productive basil plants.
Why Thinning is Important
When seedlings are too close together, they compete for light, water, and nutrients. This can lead to weak, spindly plants. Thinning reduces competition, allowing each seedling to develop a strong root system and lush foliage.
How to Thin Basil Seedlings
Here’s how to thin your basil seedlings:
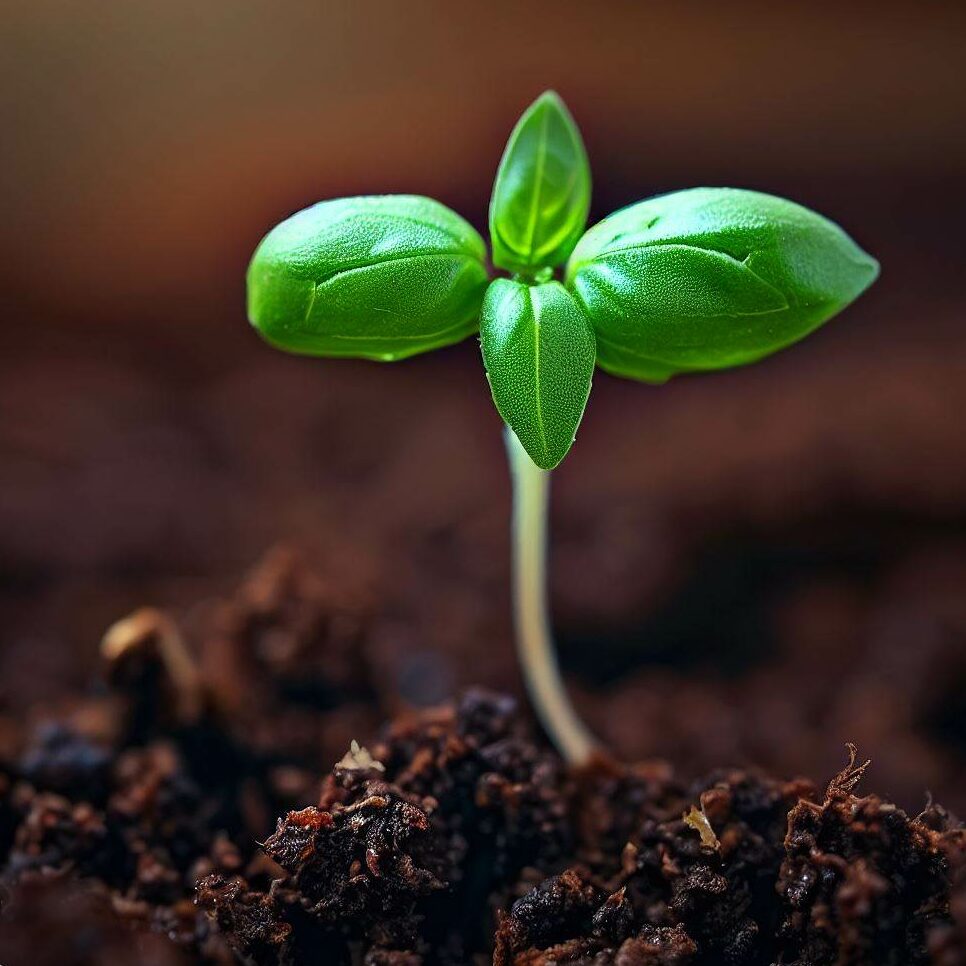
- Wait for True Leaves: Wait until your seedlings have two to three pairs of true leaves. These are the leaves that look like basil leaves, not the first pair of leaves (called cotyledons) that appear after germination.
- Select the Strongest Seedlings: Choose the strongest, healthiest seedlings to keep. These are usually the tallest ones with the most leaves.
- Remove Extra Seedlings: Carefully remove the extra seedlings, trying not to disturb the roots of the ones you’re keeping. You can cut them at soil level with a pair of scissors or gently pull them out.
🌱 Basil Buzz: If you’re thinning basil seedlings in a pot, aim for one strong seedling per pot. If you’re thinning seedlings in the garden, space them about 3 to 4 inches (8-10 cm) apart. 🌱
With your basil seedlings properly thinned, they’re ready to grow and thrive. Let’s move on to the next step in your basil growing journey!

Transplanting Basil Seedlings
If you started your basil seeds indoors, there will come a time when those little seedlings are ready to make their big move outdoors. This process, known as transplanting, is a crucial step in your basil-growing journey. Let’s explore when and how to do it.
When to Transplant Basil Seedlings
Basil is a warm-weather plant that doesn’t tolerate frost. Therefore, you should wait until after the last frost to transplant your basil seedlings outdoors. A good rule of thumb is to wait until nighttime temperatures consistently stay above 50°F (10°C).
How to Transplant Basil Seedlings
Transplanting basil seedlings requires a gentle touch and a bit of preparation. Here’s how to do it:
- Prepare the Garden Bed: Before transplanting, prepare your garden bed by loosening the soil and mixing in compost or other organic matter.
- Space the Seedlings: Dig holes in the garden bed that are large enough to accommodate the root ball of your seedlings. Space the holes about 12 to 18 inches apart.
- Transplant: Carefully remove the seedling from its pot, trying not to disturb the roots. Place the seedling in the hole, making sure the top of the root ball is level with the soil surface. Fill in around the root ball with soil.
- Water: After transplanting, water the seedlings thoroughly.
🌱 Basil Buzz: If possible, transplant on a cloudy day or in the early evening. This will help the seedlings adjust to their new environment without the stress of intense sunlight. 🌱
With your basil seedlings successfully transplanted, they’re ready to grow and flourish in their new outdoor home. Let’s move on to the next step: caring for your growing basil plants.
Watering and Fertilizing Your Basil
Once your basil seedlings are comfortably settled in their new home, it’s time to focus on their ongoing care. Two key aspects of this care are watering and fertilizing. Let’s dive into how often to water and fertilize your basil for optimal growth.
Watering Your Basil
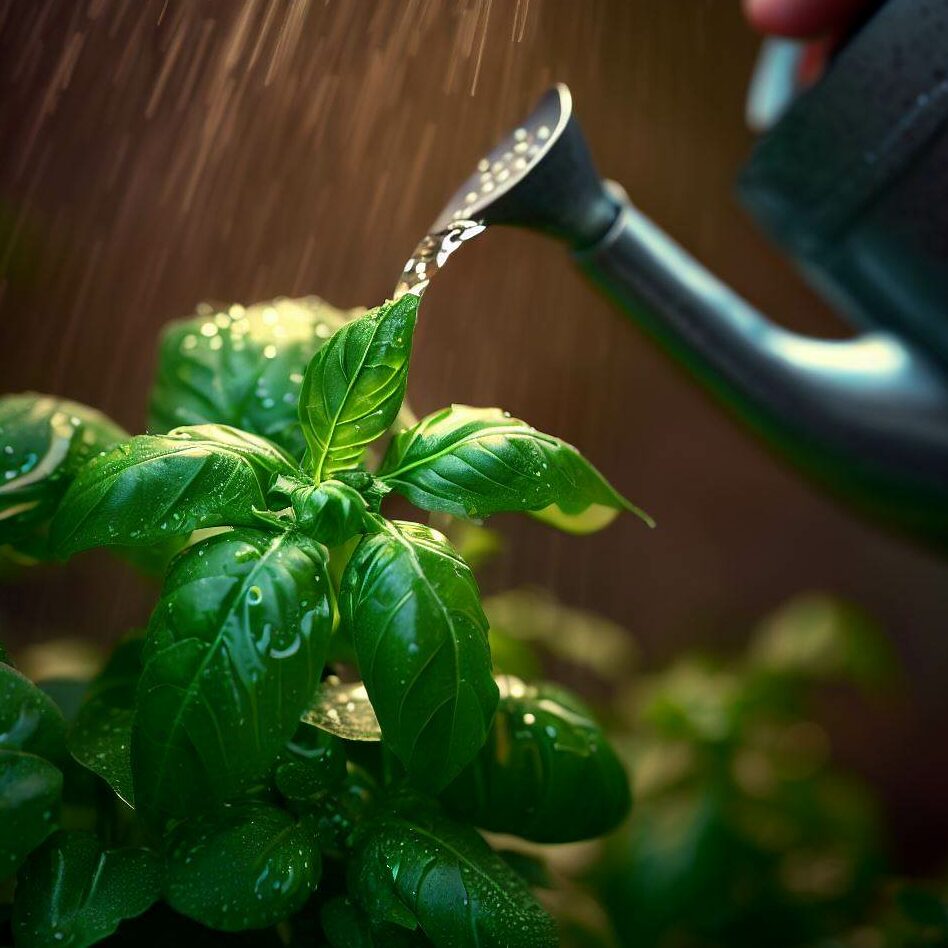
Basil thrives in moist, but not waterlogged, soil. The frequency of watering will depend on the weather and the soil type. As a general rule, water your basil plants when the top inch of soil feels dry to the touch. In hot, dry weather, this might mean watering every day, while in cooler, wetter conditions, watering every few days might suffice.
🌱 Basil Buzz: Water your basil plants in the early morning. This allows the water to reach the roots before the heat of the day causes evaporation. Plus, it helps prevent fungal diseases by ensuring the foliage doesn’t stay wet overnight. 🌱
Fertilizing Your Basil
While basil isn’t a heavy feeder, it does appreciate a boost of nutrients every now and then. A balanced, water-soluble fertilizer applied every two weeks can help promote lush, vigorous growth. Be sure to follow the package instructions for the correct dosage.
🌱 Basil Buzz: If you mixed compost or other organic matter into the soil when you planted your basil, you might not need to fertilize as often. These organic amendments slowly release nutrients into the soil over time. 🌱
Remember, the key to successful watering and fertilizing is balance. Too little water or nutrients, and your basil plants might struggle to grow. Too much, and they could become weak or susceptible to diseases. By observing your plants and adjusting your care routine as needed, you can help your basil thrive.
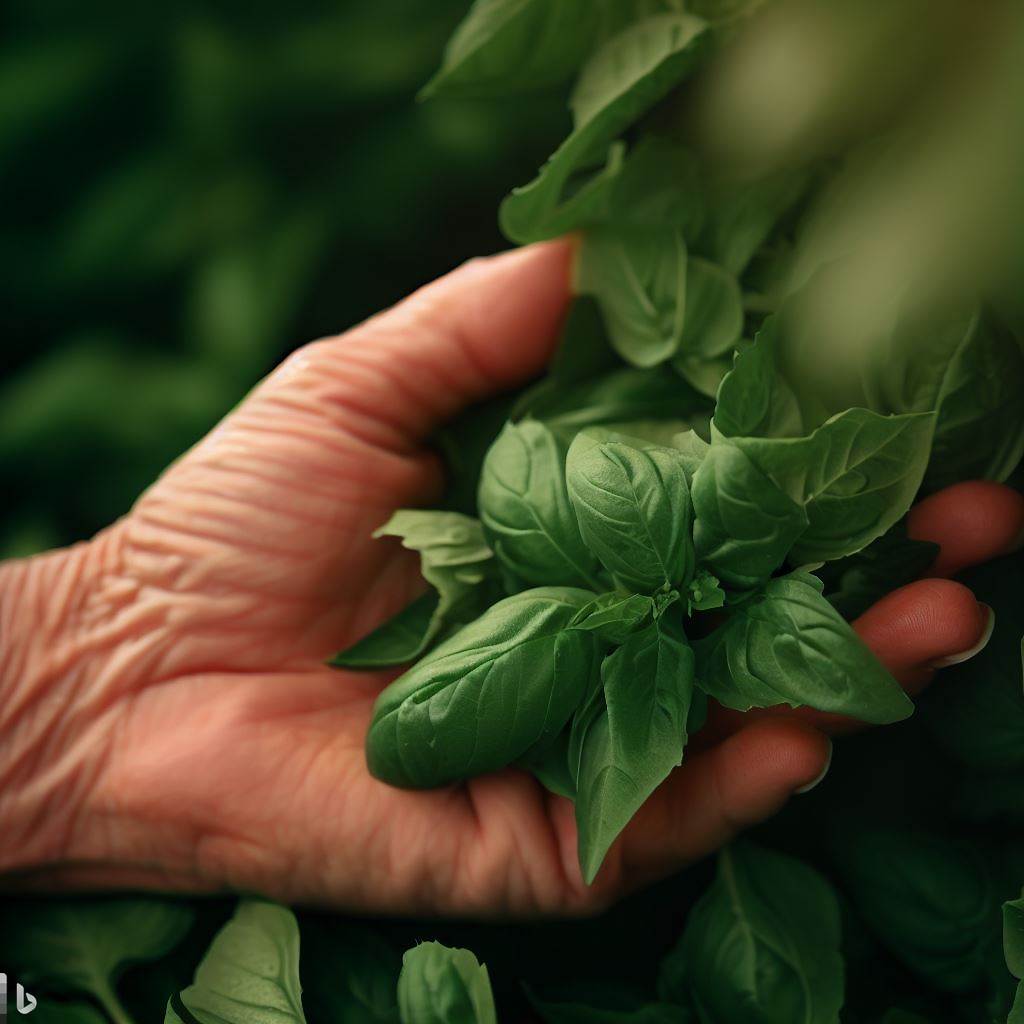
Harvesting Your Basil
After all the hard work of planting, caring for, and nurturing your basil plants, it’s finally time for the best part – the harvest! Knowing when and how to harvest your basil can make a significant difference in the flavor and yield of your crop.
When to Harvest Basil
Basil can be harvested as soon as the plant has enough foliage to maintain continued growth. Once the plant reaches about 6 to 8 inches in height, it’s usually ready for its first harvest. Try to harvest early in the morning, when the leaves are at their juiciest.
🌱 Basil Buzz: Regular harvesting encourages the plant to branch out and produce more leaves, leading to a bushier plant and a larger yield. 🌱
How to Harvest Basil
To harvest basil, simply pinch off leaves or entire stems. Always leave a couple of leaves on the stem to encourage new growth. For the best flavor, harvest the leaves before the plant starts flowering.
🌱 Basil Buzz: If your basil plant does start to flower, pinch off the flowers right away. This will redirect the plant’s energy back into leaf production. 🌱=
Harvesting your basil not only provides you with fresh herbs for your culinary creations, but it also encourages your plants to grow even more. It’s a delicious win-win situation!
Germination and Seed Starting
Starting basil from seed is a rewarding process that allows you to witness the entire lifecycle of this aromatic herb. Understanding the conditions for basil germination and the methods for starting seeds can significantly increase your success rate. Let’s delve into the details.
Basil Germination Conditions
Basil seeds germinate best when soil temperatures are between 75-85°F. They do not require light to germinate, but once they sprout, they will need plenty of sunlight. Warmth is also crucial for basil seed germination, so ensure your seeds are in a warm location, whether indoors or outdoors.
🌱 Basil Buzz: If starting seeds indoors during cooler months, consider using a seedling heat mat to maintain optimal soil temperature. 🌱
Seed Starting Methods
There are several methods for starting basil seeds. You can sow them directly in the garden or start them indoors in a seed tray or pots. Another popular method is germinating basil seeds in a wet paper towel. This method allows you to see the seeds sprout before planting them in soil.
🌱 Basil Buzz: Soaking basil seeds overnight can speed up germination. However, it’s not necessary as basil seeds typically germinate well without pre-soaking. 🌱
Germination Timeline and Care
Basil seeds typically take between 7 to 10 days to sprout. During this time, it’s important to keep the soil consistently moist but not waterlogged. Once the seedlings emerge, they should be placed in a sunny location or under grow lights if indoors.
🌱 Basil Buzz: Basil seedlings are delicate. Water them gently using a spray bottle to avoid dislodging the seeds or damaging the tender sprouts. 🌱
Starting basil from seed may require a bit of patience, but the reward of fresh, homegrown basil is well worth the wait. With the right germination conditions and care, you’ll be on your way to a bountiful basil harvest in no time!
Transplanting Basil
Transplanting basil seedlings is a critical step in the growth process. Done correctly, it can give your basil plants the space and conditions they need to thrive. Let’s explore the process and how to handle potential transplant shock.
The Transplanting Process
Once your basil seedlings have developed two to three pairs of true leaves and the danger of frost has passed, they’re ready to be transplanted outdoors. Here’s how:
- Choose a sunny location with well-drained soil.
- Dig a hole twice the size of the root ball of your seedling.
- Place the seedling in the hole, making sure the top of the root ball is level with the soil surface.
- Backfill the hole with soil, firming it gently around the seedling.
- Water thoroughly.
🌱 Basil Buzz: Transplant basil in the evening or on a cloudy day to reduce transplant shock. 🌱
Dealing with Transplant Shock
Transplant shock can occur when seedlings are moved from a controlled environment indoors to the variable conditions outdoors. Symptoms include wilting, yellowing, and slowed growth. To minimize transplant shock, acclimate your seedlings to outdoor conditions gradually over a week, a process known as ‘hardening off’.
🌱 Basil Buzz: Keep newly transplanted seedlings well-watered and consider using a transplant fertilizer to help them establish quickly. 🌱
With careful handling and a little patience, your transplanted basil plants will soon adjust to their new environment and reward you with lush growth.
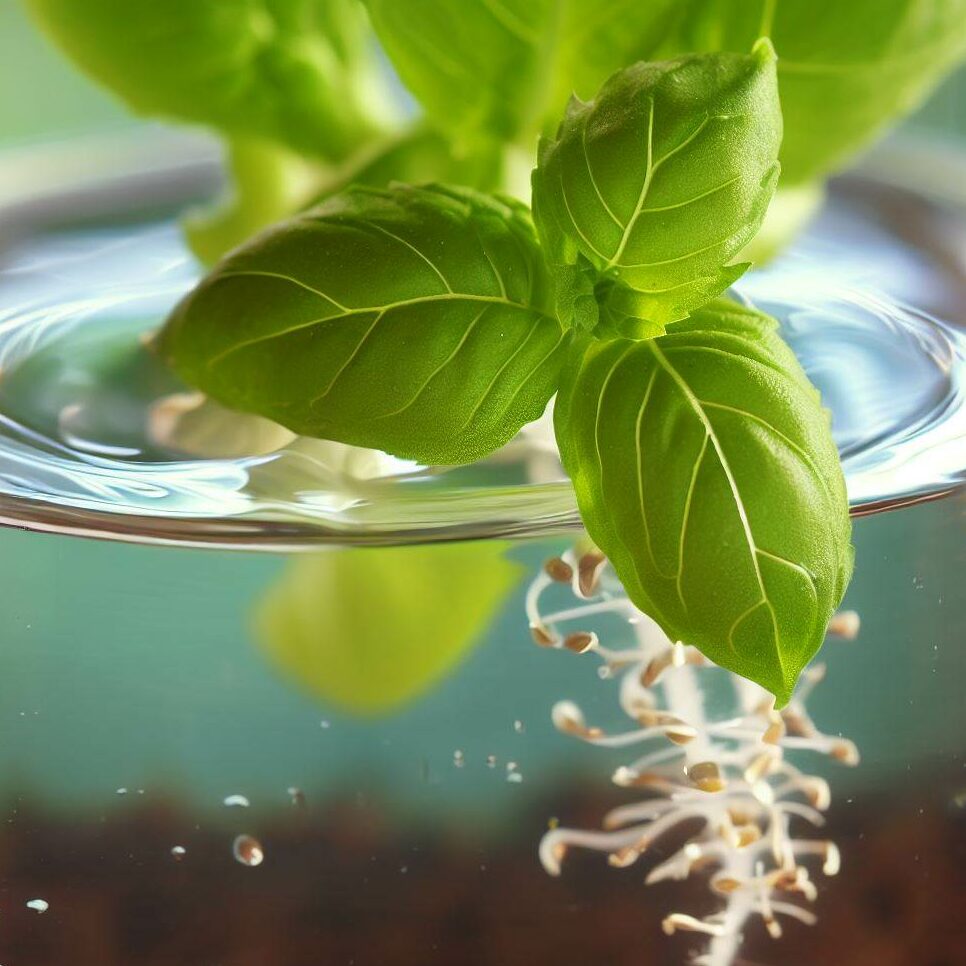
Propagating Basil
Besides starting basil from seed, another effective way to multiply your basil plants is through propagation from cuttings. This method is simple, fast, and can yield a new plant identical to the parent plant.
Propagating Basil from Cuttings
Here are the steps to propagate basil from cuttings:
- Cut a 4-inch long stem from a healthy basil plant just below a leaf node.
- Remove the leaves from the bottom 2 inches of the cutting.
- Place the cutting in a glass of water, making sure the leaf nodes are submerged.
- Place the glass in a sunny location and change the water every few days.
- Once roots develop, transplant the cutting into a pot with soil.
🌱 Basil Buzz: You can also propagate basil cuttings directly in soil. Just make sure to keep the soil consistently moist until roots develop. 🌱
Choosing the Best Method
Both propagation methods have their advantages. Starting from seed gives you a wider variety of basil types to choose from, while propagation from cuttings can yield a mature plant faster. Choose the method that best suits your needs and resources.
Care and Maintenance of Your Basil
Once you’ve successfully started your basil from seed and transplanted your seedlings, the journey isn’t over. Proper care and maintenance are crucial to ensure your basil plants thrive and produce a bountiful harvest.
General Care Tips for Basil
- Watering: Basil prefers moist but well-drained soil. Water your basil plants deeply when the top inch of soil feels dry to the touch.
- Light: Basil loves the sun and needs at least 6 hours of sunlight each day. If growing indoors, place your basil near a south-facing window or under a grow light.
- Temperature: Basil is a warm-weather plant and does not tolerate frost. Keep your basil in temperatures above 50°F (10°C).
- Pruning: Regularly pinch off the tips of your basil plants to encourage bushier growth and prevent flowering, which can make the leaves taste bitter.
🌱 Basil Buzz: If your basil plant does flower, don’t worry! You can still eat the leaves, but they might have a slightly different flavor. Plus, bees love basil flowers! 🌱
Optimizing Seed Germination
For those starting basil from seed, here are some tips to optimize seed germination:
- Soaking: Soak your basil seeds in warm water for 24 hours before planting to speed up germination.
- Temperature: Basil seeds germinate best in warm temperatures between 75-85°F (24-29°C).
- Light: While basil seeds don’t need light to germinate, they do need plenty of light once they sprout. Make sure your seedlings get plenty of light to prevent leggy growth.
🌱 Basil Buzz: If you’re starting seeds indoors, consider using a heat mat to maintain optimal soil temperature for germination. 🌱
Seed Drying and Storage
Preserving basil seeds for future planting is a great way to continue your basil growing journey. Here’s a quick guide on how to dry and store basil seeds.
- Drying: Allow the basil flowers to brown and dry on the plant. Once dry, remove the flowers and rub them between your fingers to release the seeds. Spread the seeds out and allow them to dry completely in a cool, dry place.
- Storage: Store dried basil seeds in a paper envelope or airtight container. Keep them in a cool, dry, and dark place until you’re ready to plant them.
🌱 Basil Buzz: Properly stored basil seeds can remain viable for up to five years, so don’t worry if you have some left over! 🌱
Conclusion
Starting basil from seed is a rewarding process that allows you to enjoy fresh, aromatic basil right from your garden or windowsill. From choosing the right location and preparing the soil, to sowing seeds and caring for your plants, we’ve covered all the steps you need to successfully grow basil from seed. Remember, patience and consistent care are key to a bountiful basil harvest. Happy gardening!
🌱 Basil Buzz: Don’t forget to save some seeds for next year’s planting. Your basil journey can continue year after year! 🌱